Pages

Showing posts with label Spellbinders. Show all posts

Friday, October 13, 2023

Happy Holiday Poinsettia


Gina K Designs "Poinsettia Bakcground" and Spellbinders Paper Arts "Glimmer" sentiment.  The image was stamped and embossed in gold on white paper.  It was then colored with copic markers (red, greens and black) and small gems by Pinkfresh were placed in the center of the flowers.  Hope you enjoy

Sunday, August 20, 2023

Spellbinder "Rose Bouquet"


Spellbinder Paper Arts "Rose Bouquet" was stamped in black and water colored.  Hope you enjoy!

Saturday, August 5, 2023

Spellbinder Better Press


 This was made in a class at Fond Memories using the Spellbinder Better Press and Zig water pens.  The paper used is Spellbinders cotton card.  Hope you enjoy!

Saturday, July 8, 2023

Spellbinders "Christmas Bird Poinsettia"


A CASED card using the Spellbinders "Christmas Bird Poinsettia" die set and the "Flurry of Snowflakes" 3D Embossing Folder.  Paper used for this card is from Taylored Expressions and Gems from Gina K Designs.

Sunday, May 14, 2023

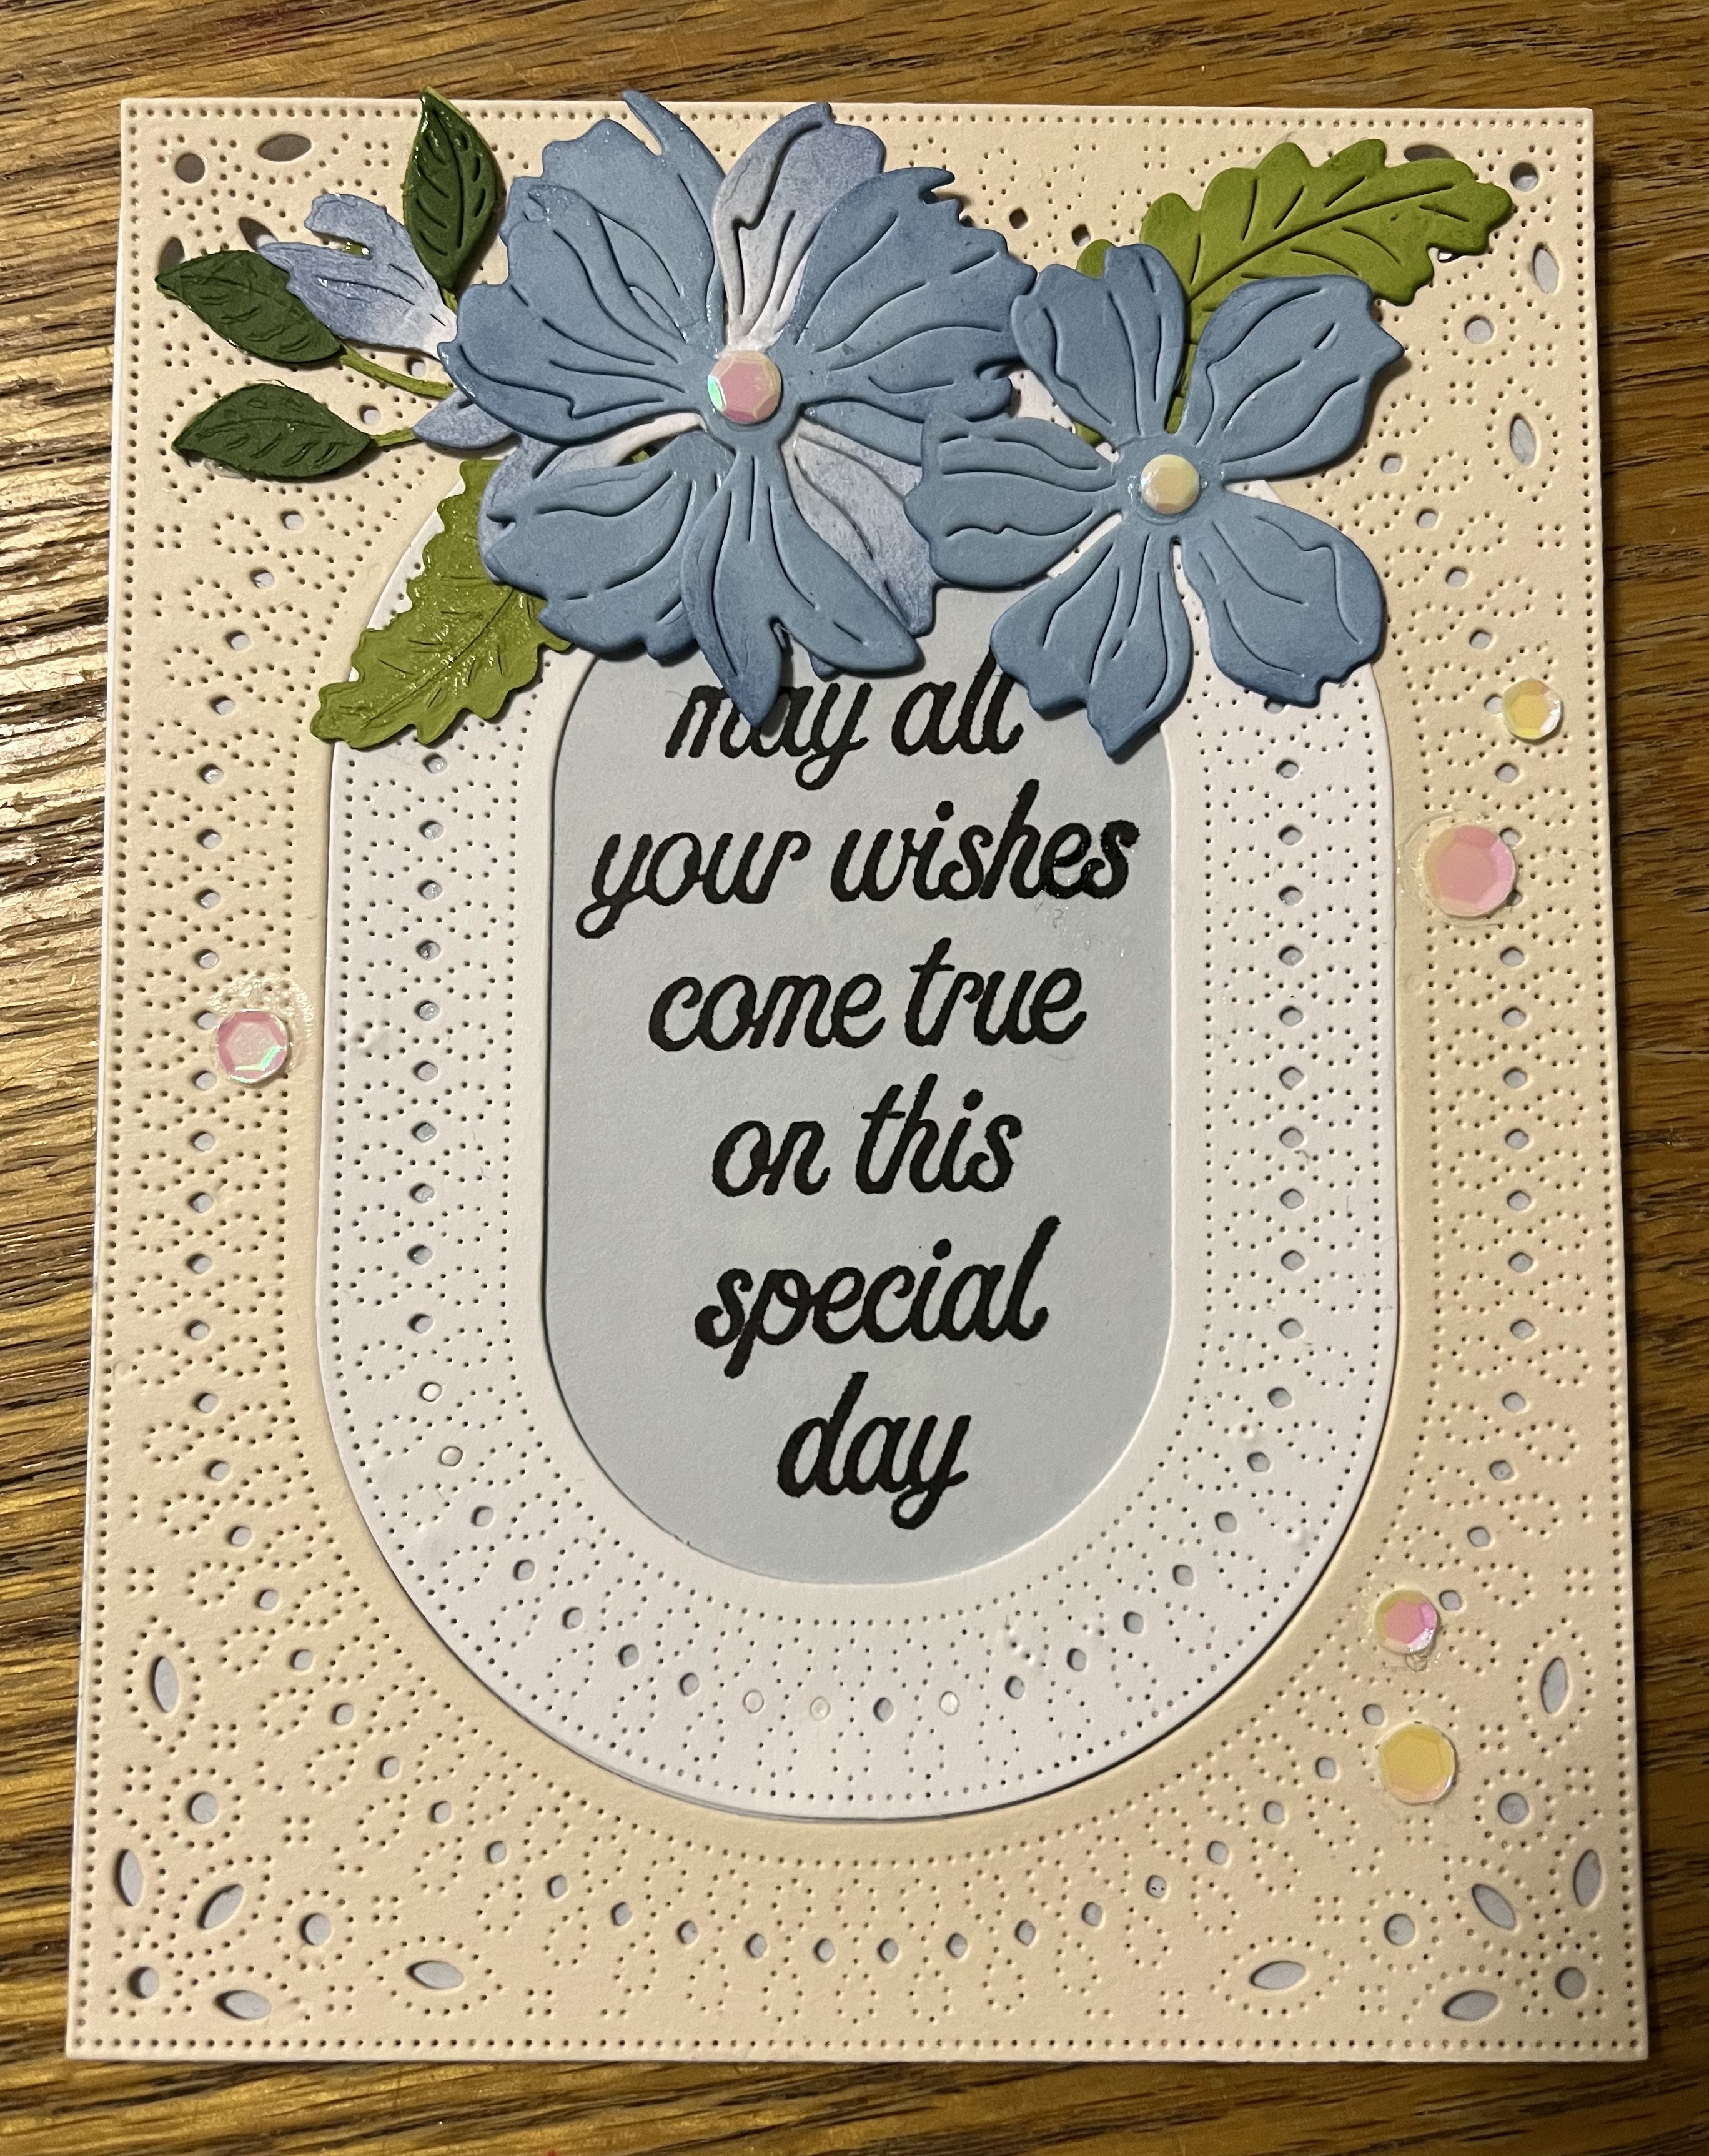
"Special Day"


 This card was created as part of the Scrapbook and Cards Today " Crop and Create" workshop.  The dies for this project are all Spellbinders.  Hope you enjoy!

Sunday, January 15, 2023

Spellbinders "Leafy" embossing folder


Spellbinders "Leafy" designs 3D embossing folder, Gina K Designs pre-printed sentiment, ephemera and gems were used to make this card.  Hope you enjoy!

Saturday, November 5, 2022

Hot Foil Merry & Bright


Pinkfresh Studio Merry and Bright hot foil plate was used with a glimmer hot foil machine.  The background is a 3D poinsettia folder by Spellbiners.   Distress ink was rubbed over the flowers and gems were added.  Hope you enjoy!

Sunday, September 11, 2022

Let it snow!


A Memory Box cover die was used to emboss the background on this card.  A sled (may be Memory Box) was cut from Kraft paper.  A Spellinders poinsettia was added along with a sentiment from Taylored Expressions.  Hope you Enjoy!

Sunday, February 23, 2014

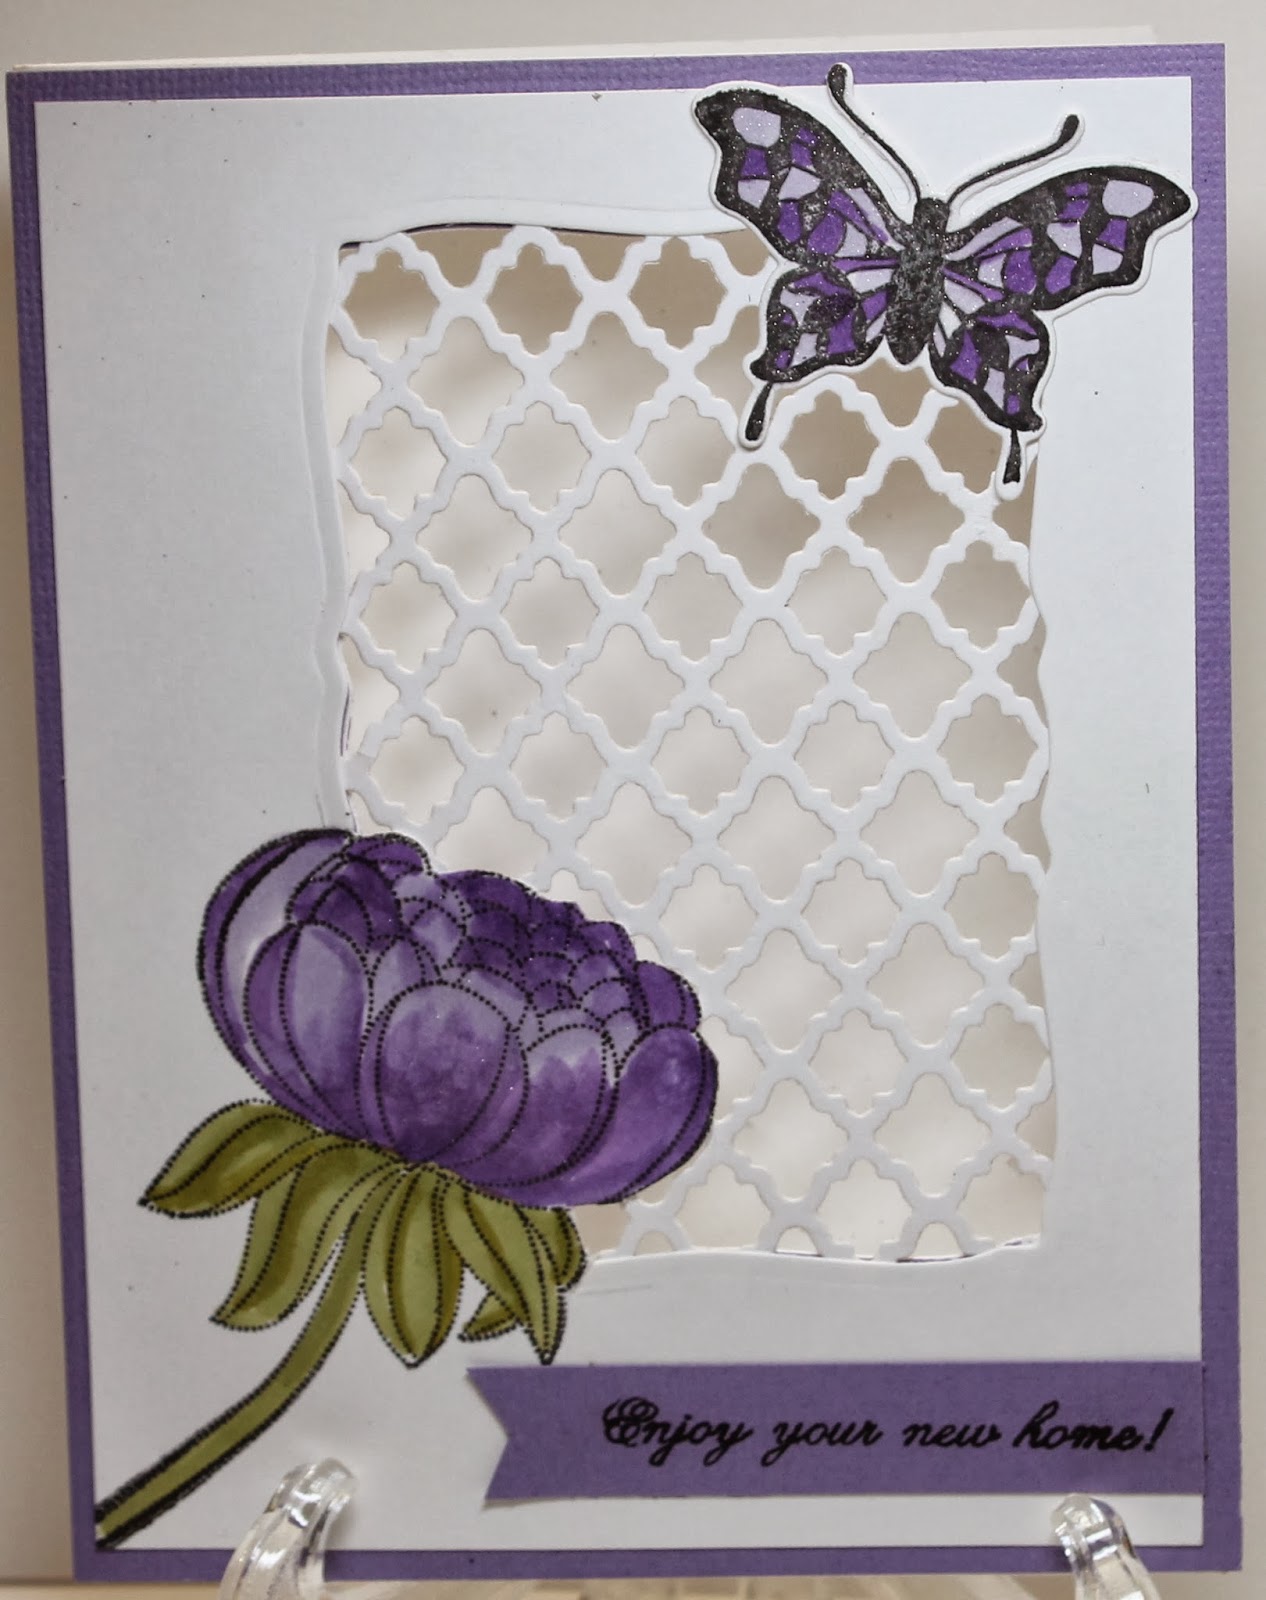
Dahlias and Lattice

JustRite Stampers sponsors a Tuesday Tutorial where Darci Bruno hosts a video showing how to make this card. (  The link to the Tuesday Tutorial  ) .  I made this card to give to a very special couple on the purchase of a new home.  Copic markers were used to color the flower and butterfly.  The butterfly was cut using a coordinating Taylored Expressions die.  Wink of Stella glitter pen was used on both the flower and butterfly.   Not really a simple card, but fun to make.  Hope you enjoy.

Supplies:

Stamp:  Penny Black:  Dahlias, Taylored Expressions:  Make it amazing, I.O.: Life stuff sentiments
Ink:  Memento Black
Copics:  YG 93, YG 95, V17, V22
Spellbinder dies:  Curved rectangles, Fancy Lattice
Taylored Expressions butterfly die
Paper: Neenah solar white and Bazzill CS purple.

Saturday, November 9, 2013

Tis the Season

In September our LSS had a very large workshop that I help with.  I needed to make some samples using a stamp that was being used at one of my tables so I may a little foggy on what I used.  The Stamp is a Memory Box that was stamped with Versafine Black and clear embossed.  This was then cut with a Spellbinder circle and  distressed with two colors  (Mustard Seed being the yellow I want to say Bundled Sage for the second color).  I added a clear stickles to the stamped image.  Using a Spellbinder tag for the sentiment I tried to give the illusion it was a globe.  The DP I believe is from Bazzill's Christmas line. The sentiment is from my stash so not remembering it.  This is an A2 card  Hope you enjoy.

Sunday, November 3, 2013

Elegant Pine


This card was made using the Hero Arts Stencil "Elegant Pine" and Golden Gel Mediums "Light Molding Paste".  I placed some of the medium into a small cup and added Distress Ink Peeled Paint reinker to the paste.  After this was mixed I taped the stencil onto my paper and spread the medium.  It is like spreading butter smooth, remove the excess and pull off the stencil.  I then added Distress dry glitter  "clear rock candy" and let it dry.  Little Yellow Bicycle  was used for the framing and was cut using a Grand Oval from Spellbinders.  The card was then mounted on red by Bazzill.  A Sentiment from DRS designs was stamped in black and cut with a Spellbinder label and mounted.  Two large pearls finish off the card.  This card is very large being almost 6 x 8.  Hope you enjoy.

Sunday, October 13, 2013

Christian Occasions

A Confirmation card made using the A Jillian Vance stamp set "Christian Occasions".  This set has sentiments for several different occasions.  For this card the cross was fussy cut, but a die is available.  The sentiment was stamped with Versafine black and clear embossed.  The cross was mounted on Bazzill paper cut with Spellbinder's "Pearl Effects".  A satin bow and small flowers help to finish the card.  Hope you enjoy

Saturday, August 17, 2013

merci bouquet

I have looked at this cute stamp from Penny Black for a long time and finally bought it.  The stamp is Merci Bouquet and was colored with Copic markers (G00, G07, G21, C0, E34, E41, E59, R05, R20, B12, Y13)  The wood veneers are from Studio Calico-the tag and the butterfly.  The butterfly was colored with the blue and yellow Copic markers and then blue gems were added.  Glossy accents were used to place these on the card.  Spellbinder card maker set A was used to cut the stamped image and the DP.  The designer paper is from Pebbles "Walnut  Grove" and this was mounted on Royal Fiber Birch.  The happy Birthday is from the Penny Black set "Friendship.  One of those fun cards to make.  Hope you enjoy.

Friday, July 26, 2013

tutu sweet

This card is for a very special little granddaughter that is turning 4.  Her favorite color is purple, hence the color selection for this card.  The stamp is from Penny Black "tutu sweet" and it really is.  Copic markers were used to color the image -BV00, BV01, BV0000,  BV08, E00, E35, Y21, R20.  Stickles was used on the tutu and the heart.  A Spellbinders oval was cut in the Little Darlings paper.  Since the paper is flowers with green leaves the oval background is another Little Darlings.  The stamped image was fussy cut and popped on the card to give the effect she is dancing.  Hero Hue gems make a frame as if a picture and stars cut from the same Bazzill as the card base are from Memory Box. The Happy Birthday is from a Paper Smooches set.   I had fun making this card.  Hope you enjoy.

Monday, May 27, 2013

Happy Birthday

The JustRite Stampers Friday Challenge #097 is a color inspiration.


This is my take on their colors.  I used Kraft paper for my beige and distressed the medallian and ribbon with Antique Linen.  The Paper used is from Little Yellow Bicycle 6x6 "Poppies". These papers were cut using Spellbinders "Radiant Rectangles".   I thought the colors worked well with this challenge.  The stamps are from JustRite "Poppies" for the flower which was colored with Copic markers E31, YG03 and YR07 and cut with Spellbinders "Medallian Seven".   The sentiment is from the JustRite set "Cirlce of Love" and was cut with a Spellbinder tag.  The card back was cut the same as the front and a small strip attached on the left side makes the fold.  A fun card to make.  Hope you emjoy

Saturday, March 23, 2013

Celebrate

This card was inspired by one I saw on Amazing Paper Grace.  I used the  Spellbinder Radiant Rectangles and Antique Labels One Dies.  The paper is a Bazzill white, while the ribbon is May Arts.  Green pearl gems were added along with a crystal gem to finish off the card.  The sentiment is from the Jillian Vance Designs "Anniversary Blessings".  I found this a rather easy card to make following the directions on Amazing Paper Grace.  To make it so it open you cut the card one inch larger and score  then cut (forming a hinge) so that it is easy to line up a second cut image.  The link above will take you to the site to see how this is made.  Hope you enjoy

Sunday, March 10, 2013

Timeless

This card is going into the stash for those Birthday cards needed in the next few weeks.  This was made using the same Penny Black stamp "Blooming garden" as in the previous post.  The flowers were colored with Derwent Inktense pencils.  The colors used here were a leaf green, indigo blue and a white.  I am really enjoying the challenge of water color.  The  stamped image was cut with one of the dies from the new Spellbinder "Timeless Rectangles".  This cut was mounted on a Bazzill navy that the corners were rounded.  The navy was mounted on a white cut with the largest of the Spellbinder dies.  Kaiser pearls were added to finish off the card.  A rather simple card to make.  Hope you enjoy

Saturday, January 12, 2013

Your so Sweet

Kathy at Fond Memories wanted me to try using this stamp from Inky Antics "Bee Benton".  Isn't he a cute little guy.  I stamped the image and colored with Copic Markers.  I used E31, E34 for the bear and Y38 for the honey pot.  The paper is My Mind's Eye "Love Me" and a Bazzill red.  Spellbinder circles were used for the cuts.  The sentiment was stamped on a section of the backside of the paper.  I used pop dots behind the bear for a little dimension.  Of course I could not resist putting a little twine bow to finish off the card.  Hope you enjoy.

Wednesday, November 14, 2012

Peace and Joy

This post is the same design with a little change as the card posted yesterday.  The poinsettia was made using  the new Tim Holtz rock candy glitter and cut with a Spellbinder die.  To make it I used wide (1 1/2 inch) score tape on card stock and cut the flower.  The next step was to peal off the protective paper and add the glitter pressing it firmly into the tape.  A gem was added to the center.  The sentiment is from Penny Black "Christmas Cheer" stamped with archival ink and then heat embossed in clear.  The folder is a snowflake from Sizzix.  Hope you enjoy

Tuesday, November 13, 2012

Merry Christmas

This festive Holiday card was inspired by one from the Online Card Class designed by Jennifer McGuire.  For my card I used a Sizzix snowflake embossing folder and the Tim Holtz diffuser.  The diffuser is an oval shape with Merry Christmas from a Penny Black set stamped with archival black.  The Poinsettia is from a Spellbinder set with a little glitter pen added to the center.   A twine sits behind the flower to finish off the card.  This is one of those that only take minutes to make.  Hope you enjoy.